

How To Animate A Wheel In Maya
Hey guys, today I will show you lot how to breathing a Cart'due south Wheels using Expressions in Maya. This is a follow upwardly tutorial of my previous tutorial "Cycle Rotation In 3ds Max Using Parameter Wiring". This fourth dimension I am showing how to achieve the same upshot in Maya and I promise Maya users volition find it helpful.
Download the Projection Files for this tutorial
Step 1
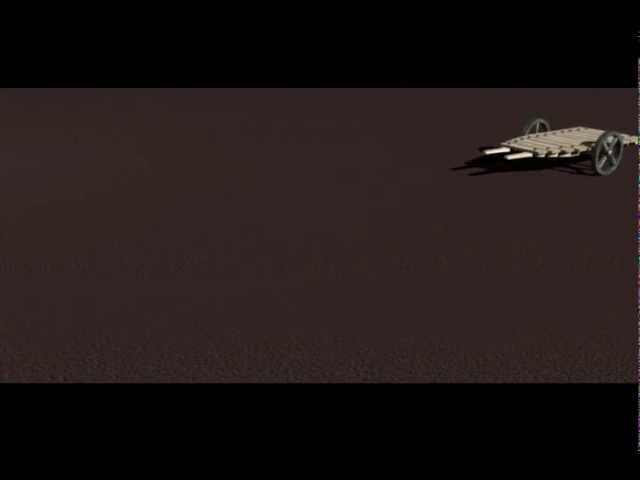
In this Maya tutorial, we'll learn to animate a Trolley/Cart's Wheels using Expressions. The best part is that nosotros don't need to breathing the wheels. Nosotros'll animate the Trolley simply, and the Wheels will breathing and movement automatically. I accept created a basic model of the Trolley already. And so open up the "Start Trolley.mb" file starting time which is supplied with the tutorial.


Step 2
Before starting, let's get through the Trolley parts. So start open the Outliner window to navigate the object listing. To open up the Outliner window, click on the Window menu and and then select Outliner.


Step iii
Y'all can see there are three major parts of the Trolley listed in the in the Outliner - Handle, Body and Axle.


Stride 4
Select the Handle grouping and you will see these are separate from the other parts.


Pace five
Select the Torso grouping and you volition see all wooden planks and nails are attached together, but not connected with the other parts.


Step 6
Select the Axle group and y'all volition see both of the wheels and the beam in this group. So before starting to rig the Trolley, we have to make some special and essential arrangements first.


Stride seven
So permit'due south start with the Handle group first. Select the Handle group and and then printing the "Insert" cardinal on the keyboard and you will see its Pin point.


Step eight
Now, with the Trunk function selected, press the "Insert" key and you will see its Pin point in the middle. It could exist anywhere. Withal nosotros don't actually need to alter it because the Body has to be linked as a Child with the Handle.


Stride nine
The Axle grouping is showing the Pivot point at the center of the Wheels, which it is quite right for rigging it properly.


Stride x
Now, we will do some parental linking. So first select the Torso, so printing and concord the Shift key and and then select the Handle function and finally press P.


Pace 11
This makes the Body a child of the Handle. At present wherever the Handle goes, the Torso volition follow.


Step 12
Now we will create the Expression for the Rotation of the wheels. And then select the Axle role and in the Channel Editor, select the Rotation X transform aspect considering the wheels would rotate in the Ten-centrality in this example.


Step 13
With the Axle and its Rotation 10 transform aspect selected, click on the Edit menu of the Aqueduct Box and select the Expressions... command in the drop down card.


Footstep 14
The Expression Editor window opens. Y'all will meet the Axle is selected in the Objects grouping, while Rotation Ten is selected in the Attributes group.


Step 15
In the Expression Text box, write this expression (Axel.rotateX = Handle.translateZ*xx;) and so click on the Create button. This Expression says that when the Handle moves in the Z axis, the Beam will rotate the 20th role of the translation. Instead of the value 20, you can check with other values like thirty, twoscore etc. Really this value will control the speed of the rotation, so I suggest playing with this value until you get the desired speed of the rotation.


Step 16
Now, we will connect the Beam to the Handle part, but before that we'll create a Locator first. And so click on the Create menu and and so select Locator. The Locator is created on the grid.


Step 17
Place the Locator virtually well-nigh the Axle as shown in the paradigm below.


Step 18
First select the Axle part, and then select the Locator and press the P cardinal. Now the complete Axle part (with wheels) becomes the child of the Locator.


Step 19
Finally select the Locator, and then select the Handle part and again press the P key. Now this makes the Locator the kid of the Handle. This way, the Handle becomes the parent of all the parts.


Step 20
Now, select the Handle and drag it in the Z axis. Yous will run into the Wheels besides rotate and follow the Handle. You can now make the animation as you want. And the best office is that you only have to animate the Handle and rest of the things will follow it automatically with the rotation of the wheels too.


Did you lot find this postal service useful?

Source: https://cgi.tutsplus.com/tutorials/animating-wheels-automatically-in-maya-using-the-power-of-expressions--cg-18184
Posted by: sanchezhoullatc.blogspot.com
0 Response to "How To Animate A Wheel In Maya"
Post a Comment